


You will need: fabric (size of fabric depends on size of project), a random shoe box, ruler, scissors,
padding, pen or chalk to mark fabric with, and a hot glue gun

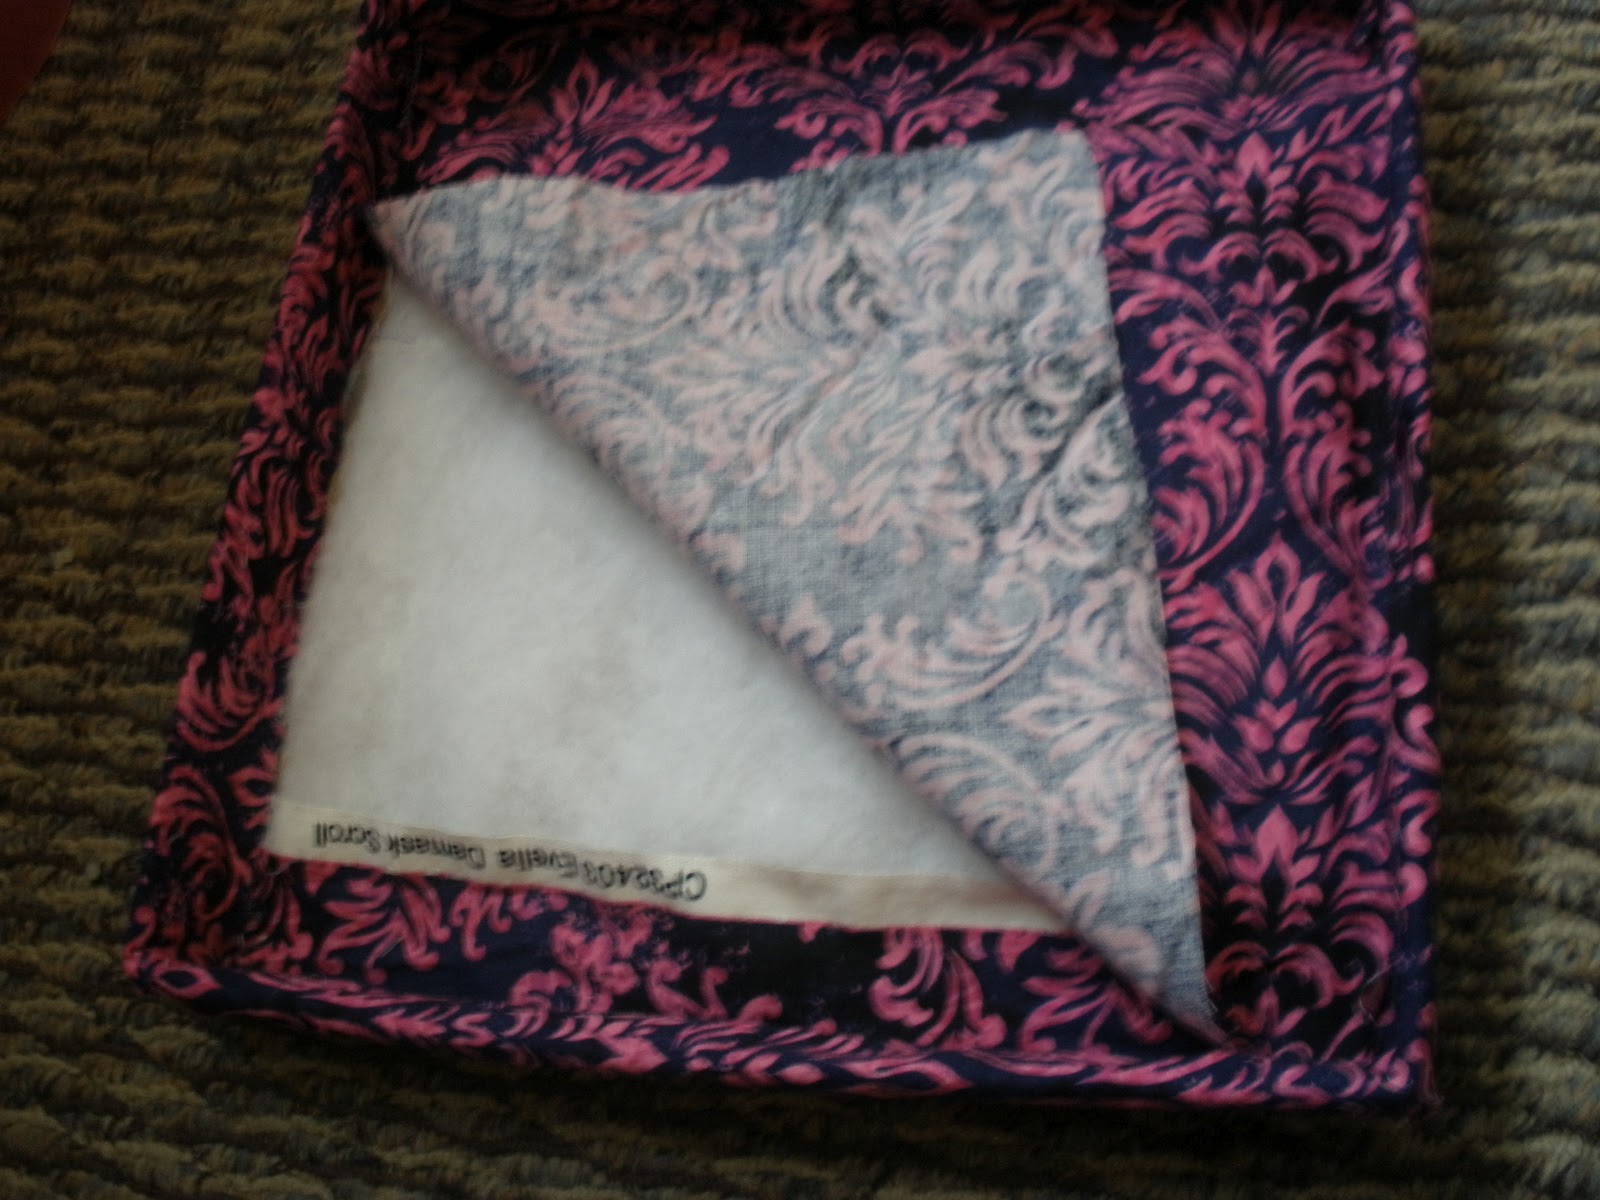
First cut out a size of fabric to match your box's lid, then cut the corners.

Padding goes below!

Place box lid on top and put padding inside it as well.
I glued it there.

Fold the fabric inside the box...

...and glue it in place!

Kind of cool so far!
I had fabric cut out slightly smaller than the size of the lid.
I then glued it in there.
(I love my hot glue gun!)

Done!

DONE! I did the same to the bottom part of the box,
just did not have padding in it.

Ta-da!
Can anyone guess what shoe box I used for this?
If you attempt this and find an easier way to do it, let me know! Always room to grow and develop! Bye bye for now!
No comments:
Post a Comment